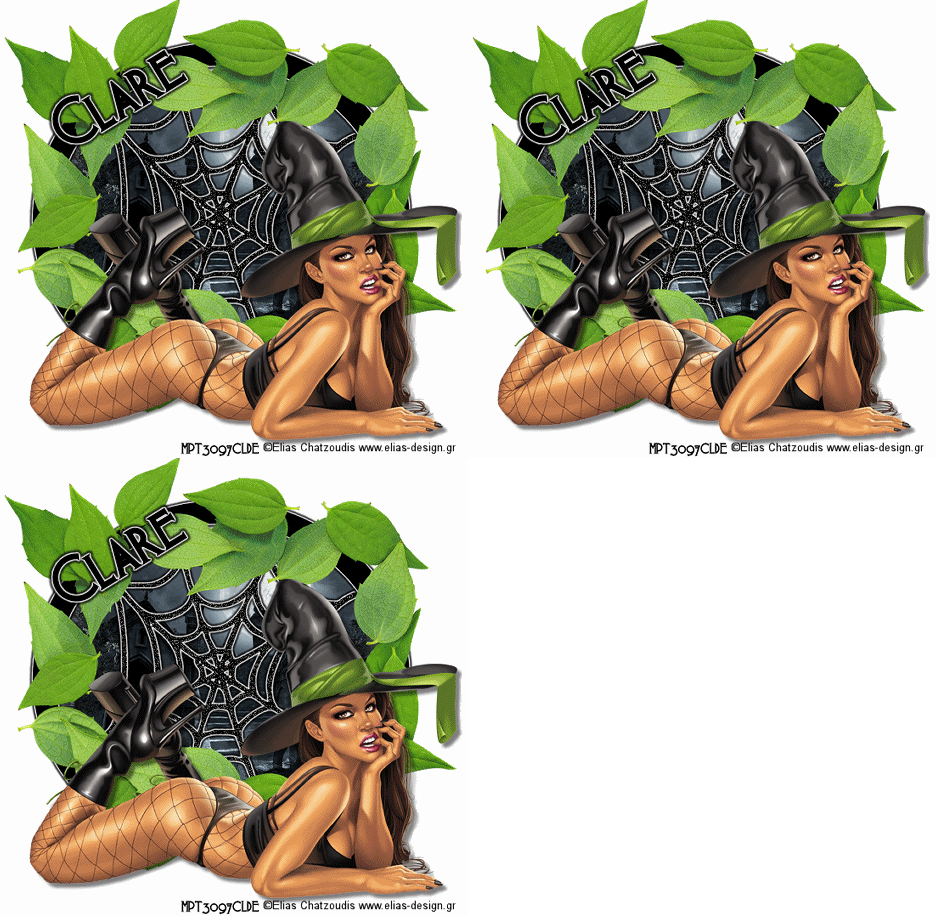
This tutorial was written by me on 31st October 2010 It assumes you have working knowledge of PSP and Animation Shop and it's tools, was written in Version 9, feel free to merge layers as when needed, unless otherwise stated
You will need:
My supplies here
A tube of choice, I am using the work of Elias Chatzoudis and you will need alicence to use his work
Eye Candy 5 - Impact - Gradient Glow
My supplies here
A tube of choice, I am using the work of Elias Chatzoudis and you will need alicence to use his work
Eye Candy 5 - Impact - Gradient Glow
Open a new transparent image 600 x 600 and flood fill white
open the frame supplied and paste as a new layer in the centre
using your magic wand click inside the frame > modify > expand > 4
open the image supplied and paste as a new layer > invert and hit delete > drag below the frame layer
open your tube and paste as a new layer > drop shadow of choice and position
open the spider web and paste as a new layer over the centre of your image open up the leaves and paste as a new layer over the frame
add a small black gradient glow to the frame using eye candy impact gradient glow
highlight the web layer and duplicate twice > rename them 1,2 and 3
add the copyrights, your mark and any text you would like
click on 1 > adjust add noise: random, monochrome 50% > ok
click on 2 > same settings but change to 65%
click on 3 > same settings but change 80%
click on 1 again and apply same gradient glow as before > repeat with 2 and 3
hide layer 2 and 3 and copy merged and paste into animation shop
hide layer 1 and 3 and copy merged and paste after current frame
hide layer 1 and 2 and copy merged and paste after current frame
view animation and save as a .gif
If you have any questions or comments regarding this tutorial , please leave me a comment below or write a message
in my Chat Box, alternatively you can email me at clare_33@live.co.uk
in my Chat Box, alternatively you can email me at clare_33@live.co.uk


No comments:
Post a Comment