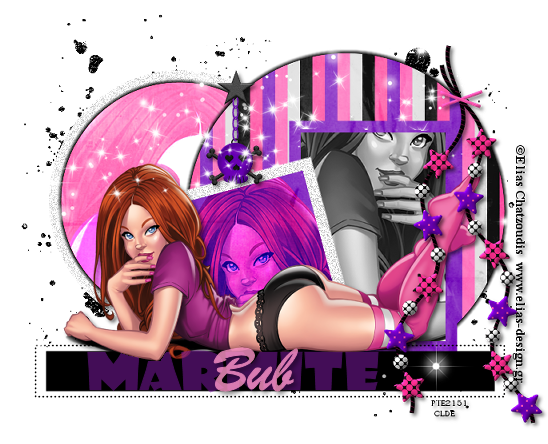
This tutorial was written by me on 9th July 2011
It assumes you have working knowledge of PSP and Animation Shop and it's tools,
was written in Version 9, feel free to merge layers as when needed, unless otherwise stated
was written in Version 9, feel free to merge layers as when needed, unless otherwise stated
You will need:
template107 by yvette ( I have supplied this as i cannot find her blog for you to d/load, if you know where the blog is, please let me known on comments below so that I can add the link, thank you)
Tube of choice, I am using the work of Elias Chatzoudis and you will need a licence to use his work
Scrap Kit 'Punkette' by kristin which you can d/load here
eye candy 4000 - gradient glow
my supplies here
Tube of choice, I am using the work of Elias Chatzoudis and you will need a licence to use his work
Scrap Kit 'Punkette' by kristin which you can d/load here
eye candy 4000 - gradient glow
my supplies here
On to the tutorial
Open the template and duplicate and close the original
image / canvas size / 700 x 700 and we will resize later
unhide the background and delete the copyright layer and also the text layer
image / canvas size / 700 x 700 and we will resize later
unhide the background and delete the copyright layer and also the text layer
highlight black circle layer / float / defloat / open a paper of choice and paste as a new layer / invert and hit delete / delete the original layer
repeat the above with the pink circle, choosing another paper
repeat again with large pink rectangle
repeat the above with the pink circle, choosing another paper
repeat again with large pink rectangle
repeat again with small pink rectangle
highlight the small rectangle / float / defloat / open tube of choice and paste as a new layer and position / invert and hit delete change the blend mode to overlay
repeat with the white rectangle using a different part of the tube but change blend mode to luminance legacy
highlight the small rectangle / float / defloat / open tube of choice and paste as a new layer and position / invert and hit delete change the blend mode to overlay
repeat with the white rectangle using a different part of the tube but change blend mode to luminance legacy
highlight the circle layer / float / defloat and again paste your tube / change blend mode to dodge / delete the brush layer
highlight the large circle layer and add a small gradient glow of choice with black
repeat with the other circle
highlight the large circle layer and add a small gradient glow of choice with black
repeat with the other circle
click on the top layer and paste the burst as a new layer and position where you like
delete any bursts that appear over the rectangle layers
open a splat of choice from the kit and paste as a new layer and drag to the bottom / duplicate / mirror / flip and merge visible these 2 layers
delete any bursts that appear over the rectangle layers
open a splat of choice from the kit and paste as a new layer and drag to the bottom / duplicate / mirror / flip and merge visible these 2 layers
merge down the dotted rectangle and black rectangle and move down a bit if using same tube as me
paste the main tube as a new layer and erase any of the rectangle thats showing underneath it / drop shadow main tube
add any more elements you wish to from the kit
paste the main tube as a new layer and erase any of the rectangle thats showing underneath it / drop shadow main tube
add any more elements you wish to from the kit
when happy delete the background layer / merge visible add the copyrights and your mark and save as a .png


No comments:
Post a Comment