Thursday, 16 August 2012

PLAYBOY


This tutorial was written by me on March 4th 2010, It assumes you have working knowledge of psp and animation shop and it's tools
was written in version, feel free to merge layers so you are comfortable.
You will need:
Template56 by Kristin which you can download at Toxic Desire
Tube of choice, I am using the work of Keith Garvey, you will need a licence to use his work at My Psp Tubes
Scrap Kit 'Slave' which can be downloaded from Blue Dream Designs
Eye Candy 4000 - Gradient Glow

open up the template and duplicate and close the original
delete the copyright layer
click on the scalloped circle layer > float > defloat > open paper4 and paste as a new layer > invert and delete
delete the original layer > using your magic wand, click inside each heart > expand 2 > open paper5 and paste as a new layer > invert and delete
merge this with the scalloped paper layer > drop shadow of choice
click on the bunny rext layer > float > defloat > open paper5 and paste as a new layer > invert and delete > delete original layer
open your tube and resize if you wish and paste as a new layer > drop shadow
add a gradient glow to the PLAYBOY text layer add the same glow to the logo layer and also to the large black rectangle
open label1 and paste as a new layer > resize 75% and position ( see mine )
open handcuff1 and paste as a new layer > resize 55% > rotate > right 90 and place behind the tube
open bow3 > resize 50% nad position below the logo layer
add the copyrights and your mark and any text you would like duplicate the PLAYBOY layer once, rename them 1 and 2
click on 1 and add a larger gradient glow > crop around your tag and resize if you wish
open Animation shop > hide layer 2 and copy merged into animation as a new animation, go back to psp, unhide 2 and hide 1 and copy merged
and paste after current frame in animation shop > change frame animation to 50 and save as a .gif
If you have any questions or comments regarding this tutorial or would like me to display
your creation on my blog, please leave me a comment below or write a message
in my Chat Box, alternatively you can email me at clare_33@live.co.uk


PATRICKS GREEN


This tutorial was written by me on March 10th 2010, It assumes you have working knowledge of PSP and Animation Shop and it's tools, It was written in Version 9, feel free to merge layers as when needed, unless otherwise stated ( Do not merge the clover layer )

You will need:
Template By Daira 'The Irish' which can be downloaded from Loving Miranda
Scrap Kit 'St Patty' which can be downloaded from here
Tube of choice, I used Elias Chatzoudis and you will need a licence to use his work
Visman Natural - Sparkles

Duplicate the template, close the original
delete the copyright layer > image > canvas size > 600 x 600
click on rounded square > float > defloat > open paper of choice and paste as a new layer > invert and delete > delete original layer
repeat the above steps with the big rectangle, clover, small rectangle, smaller rectangle and strip rectangle
delete the small clover layer

open element77 and paste as a new layer > resize > 80% and drag to the bottom
open element71 and paste as a new layer > resize 55% and position ( see mine )
using your magic wand tool click inside the top part of the circle > expand > 2 and open a paper of choice > paste as a new layer > invert and delete > invert > open your tube and paste as a new layer move into the circle > invert and delete > select none > drop shadow the tube and change blend mode to soft light > drop shadow the hanger ( drop shadow any other layers you wish at this stage

open element54 and paste as a new layer > resize 35% and position ( see mine ) drop shadow
merge down the 2 wordarts together and move down a bit and to the left> drop shadow
open your main tube and paste as a new layer and position > drop shadow
add your copyrights and your mark and crop around the tag > resize all layers 85% > add any text you would like
merge visible all layers except for the clover
duplicate the clover layer 3 times so you have 4 layers, rename, 1, 2, 3 and 4
click on layer 1 > effects > sparkle, settings:
maz size 56 - 255 - 255 - 255 - click apply
click on layer 2, 56 - 0 - 255 - 0 - change seed > apply
click on layer 3, 56 - 255 - 255 - 255 - change seed > apply
click on layer 4, 56 - 0 - 255 - 0 - change seed > apply
hide layers 2,3,4 and copy merged and paste into animation as a new animation
hide layers 1, 3,4 and copy merged after current frame
hide layers 1,2,4 and copy merged and paste after current frame
hide layers 1, 2,3 and copy merged and paste after current frame
view animation and save as a .gif

If you have any questions or comments regarding this tutorial please leave me a comment below or write a message
in my Chat Box, alternatively you can email me at clare_33@live.co.uk

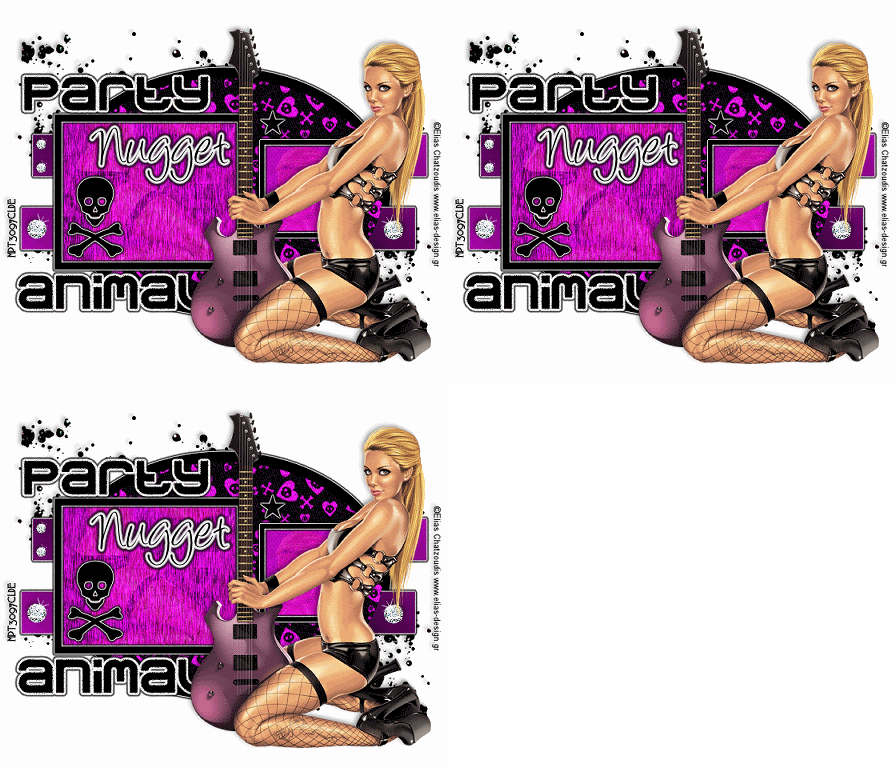
PARTY ANIMAL


This tutorial was written by me on November 23rd 2010 It assumes you have workingknowledge of PSP
and Animation Shop and it's tools, was written in Version 9, feel free to merge layers as when needed, unless otherwise stated
You will need:
template190 by beth which you can download from Blissfully Beth
Tube of choice, I am using the work of Elias Chatzoudis and you will need a licence to use his work
Scrap Kit 'Sticky n Sweet' by Tamie which you can download from here
Eye Candy 5 impact ~ Gradient Glow
Eye Candy 4000 ~ HSB Noise

On to the tutorial......
Open the template > duplicate and close the original > delete the copyright layer and the background layer > add a new raster layer and send to the bottom and flood fill with white
activate the blue oval layer > selections > float > defloat > open paper3 and paste as a new layer > invert and hit delete > select none > delete the original layer
activate the black oval layer and add a small black glow using gradient glow
activate sml blue frame bg > selections > select all > float > defloat > open paper8 and paste as a new layer > invert and hit delete > delete the original layer
add same gradient glow to the black small frame
repeat the above steps with the white rectangle
choose 2 colours from your tube and set the colour to gradient, settings: linear-angle35-repeat1
activate the stripes layer > float > defloat > add a new layer and flood fill with your gradient > delete the original layer
add the same gradient glow to the stripes
click inside the large frame with your magic wand > modify > expand 2 > open tube of choice and paste as a new layer > invert and hit delete > change blend mode to soft light
repeat the above steps with the smaller frame
add the gradient glow to the stars
open your tube and paste as a new layer > position > add a drop shadow of choice
add the gradient glow to the 'party animal'
open glitter3 and paste as a new layer and drag to the bottom and move to the top left of the tag > duplicate > image > mirror > image flip > merge down > drop shadow
add copyrights > text and your mark onto the layer with the tube and hide
add gradient glow to the skull
activate the large rectangle bg layer > duplicate twice > rename 1, 2 and 3
activate the top layer and go to eye candy 4000 - hsb noise, settings: default but change to zebra stripes
repat with layers 2 and 3 but change the random seed
open the diamond from the kit and paste as a new on top > resize > 50% and position ( see mine )
duplicate > resize 50% and position ( see mine ) duplicate it again and position > drop shadow on all > merge visible the diamonds
duplicate > image > mirror
hide layers 2 and 3 and copy merged > paste into animation shop as new image
hide layers 1 and 3 and copy merged and paste after current frame
hide layers 1 and 2 and copy merged and paste after current frame
view animation and save as a .gif
If you have any questions or comments regarding this tutorial, please leave me a comment below or write a message
in my Chat Box, alternatively you can email me at clare_33@live.co.uk
Wednesday, 15 August 2012

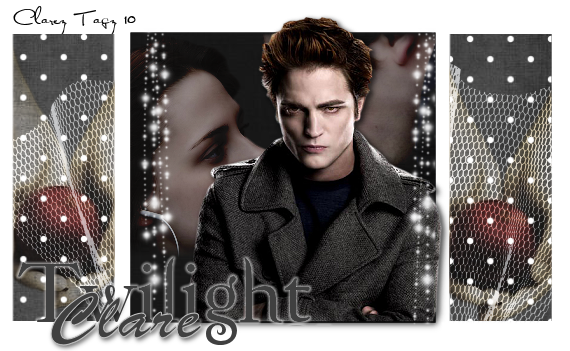
OBSSESSED


This tutorial was written by me on 25th April 2010 It assumes you have working knowledge of PSP and Animation Shop and it's tools, was written in Version 9, feel free to merge layers as when needed, unless otherwise stated

You will Need: >
Template1 twilight by Yvette > blog no longer available
My supplies here >
eye Candy 4000 > Gradient Glow

Open the template and duplicate and close the original > image >
canvas size 600 x 600 > delete the copyright layer > Click on the square > float >
defloat > open paper1 and paste as a new layer > invert and delete > delete the original click on the rectangles >
 float > defloat > open paper2 and paste as a new layer > invert and delete and delete the original >
 Open edward1 and paste as a new layer and position ( see mine ) > drop shadow
click on the rectangles > float > defloat > open apple and paste as a new layer > resize 75% >
 twice position and place in both rectangles > invert and delete > change the blend mode to overlay and lower the opacity to around 80

Add a thin white gradient glow to the twilight text and delete the obssessed layer >
open the net and paste as a new layer and drag below the tubes and over the two rectangles >
 using your selection / eraser tool erase the netting in the middle section > lower opacity to 75
open the sparkles and paste on the middle section > duplicate > mirror and merge together
click on the square > float > defloat > open the ed and bella tube > resize 50% and paste as a new layer and position under edward >
 invert and delete > change the blend mode to hard light and lower the opacity to 70
add any text you would like > add your mark > crop around the tag and delete the white background layer >
 merge visible and save as a .png

If you have any questions or comments regarding this tutorial please leave me a comment below or write a message
in my Chat Box, alternatively you can email me at clare_33@live.co.uk
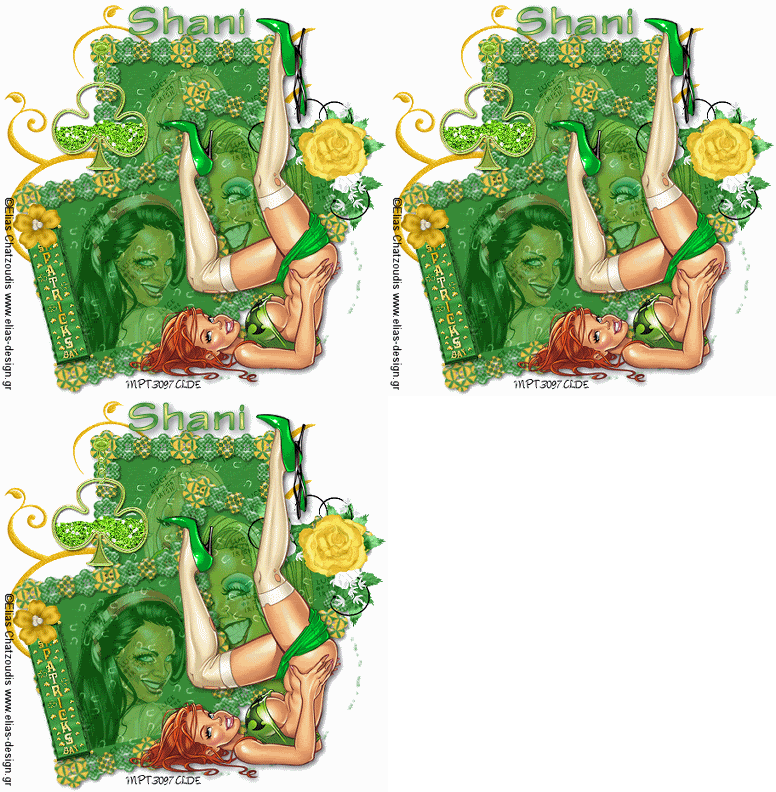
O' MALLY


This tutorial was written by me on March 12th 2010, It assumes you have working knowledge of PSP
and Animation Shop and it's tools, was written in Version 9, feel free to merge layers as when needed, unless otherwise stated
You will need:
Scrap Kit 'Paddy O'Mally' By Shani which you can download from Wicked Princess
Tube of choice, I am using the work of Elias Chatzoudis, you will need a licence to use his work
dsb flux - Bright Noise

open a new transparent image 600 x 600 and flood fill white > open buttonframe and paste as a new layer
using your magic wand click inside the frame > expand > 2 and open a paper of choice and paste as a new layer
invert and delete and drag the paper below the frame > drop shadow the frame > merge visible > resize 65%
duplicate > image > rotate > free 17 > right > move down > duplicate > image > rotate > free > left 30 > position ( see mine )
open up the doodle and paste as a new layer and drag below the frames > delete any overhanging on the right side
open up the dust and and paste as a new layer and drag below the frames and doodle and poition on the right ( see mine )
select your freehand selection tool and draw around the bottom frame just around the edges > open a tube of choice
and paste as a new layer > invert and delete
repeat with the other 2 frames until you have 3 tubes inside them > change blend modes to soft light
open your main tube and paste as a new layer at the front and position > drop shadow
open greenclovercharm and paste as a new layer > resize > 45% and position ( see mine )
open up rosejasminecluster and paste as a new layer > resize 55% and position ( see mine ) > drop shadow
open up sign and paste as a new layer > resize > 35% and using your rotate tool rotate it a bit and position ( see mine )
adjust > sharpen > drop shadow
open up yellowflower and paste as a new layer > resize > 50% and position ( see mine > drop shadow
making sure the green clover is the top layer > hide it and merge visible all other layers
add your copyrights, any text you would like and your mark > resize > all layer85%
using your freehand selection tool draw around the green glitter on the clover
duplicate the clover twice so you have 3 of them and rename 1,2,3 > click on layer1
effects > Dsb flux - bright noise, settings: 55, Mix and hit ok
click on layer2 and repeat the noise but hit mix twice
click on layer3 and repeat the noise but hit mix three times > select none
hide layers 2 and 3 and copy merged into animation shop
hide layers 1 and 3 and copy merged after current frame in animation shop
hide layers 1 and 2 and copy merged after current frame in animation shop
view animation and save as a .gif
If you have any questions or comments regarding this tutorial please leave me a comment below or write a message
in my Chat Box, alternatively you can email me at clare_33@live.co.uk
NEW MOON


This tutorial was written by me on November 8th 2009
You will need:
Images of choice, or mine supplied here
twilight FTU scrap kit by Tamie at addictivepleasures here

open up the newmoon1 and right click in the layer pallete and promote background layer
using your freehand selection tool, draw around the flower with the following settings:
point to point, replace, feather 40
selections > invert and hit delete once, minimize for now
open a new transparent canvas 500 x 300
flood fill with black and copy and paste the flower onto it
change the blend mode to hard light
duplicate > image mirror, lower the opacity of the one on the right to around 25
open the newmoon2 and promote background layer
again using same settings as before, draw around edward and bella > selections > invert
hit delete twice
paste as a new layer onto your canvas and change the blend mode to hard light
open up the tullenetting and paste as a new layer above the black background layer
lower the opacity to around 44
open up newmoon3 and promote the background layer
draw around edward and selections > invert > hit delete twice
copy and paste as a new layer onto your canvas, move to the left side and change blend mode to darken
open riboneyelets and paste as a new layer and move to the right hand side
image > resize > 41%
add a drop shadow with the following settings:
2, 2, 76, 5.0, white
lower the opacity to 60
duplicate and mirror
open ribbon2 and paste as a new layer > image > resize > 73%
image > rotate > free 90 and place to the left and a drop shadow but change to black
image > flip and lower opacity to around 68
open the moon tube and image > resize > 37% place to the right hand side bottom and move to above the black background
open the clock and resize 37% copy and paste as a new layer and move above the moon layer > change the blend mode to hard light
open the calla lillies and resize by 37%, copy and paste as a new layer and place to the right hand side, on top of all other layers
change the blend mode to luminance legacy and lower the opacity ro around 64
set both your colours to white and select the rectangle preset shape tool, drae a rectangle towards the bottom ( see mine )
lower the opacity to around 24
set the background to white and the foreground to null, select your rectangle tool, set to dots, width 1.0 and draw around just the inside of the tag, convert to raster
set both colours to red and choose a font of choice, type your twilight text in the rectangle and lower the opacity to around 40, add the same drop shadow as before ( i used Uberholme)
using another different font and using white for both( i used scriptina ), type your name over the top of the twilight text, add the same drop shadow as before, move slightly to the right of the previous text.
save as a j.peg

NAUTICAL BABE


This tutorial was written by me on 12th July 2010 It assumes you have working knowledge of PSP and Animation Shop and it's tools, was written in Version 9, feel free to merge layers as when needed, unless otherwise stated
You will need template101 by me ( supplied )
tube of choice, I am using the work of Elias Chatzoudis, you will need a licence to use his work
my supplies here
mask of choice
eye candy 5 impact - gradient glow
xero - frittilary

Open the template ~ duplicate and close the original
Image ~ canvas size ~ 600 x 600 ( we will resize later )
delete the copyright layer
highlight black square ~ float ~ defloat ~ add a new layer ~ open paper2 ~ paste into selection ~ select none and delete the original layer

apply your mask to this layer ~ merge group
click on rectangle ~ float ~ defloat ~ add a new layer ~ open paper2 and paste into selection ~ delete the original layer
click on slats ~ float ~ defloat ~ pick a colour from your tube ~ add a new layer and flood fill ~ delete original layer

add a small black glow to the slats and to the rectangle and also to the stars
highlight the rectangle layer again ~ float ~ defloat ~ open tube and paste as a new layer ~ invert and hit delete
change the blend mode to multiply ~ lower opacity to 68
click on the slats layer ~ xero ~ frittilary ~ default settings

open the anchor and paste as a new layer and position ( see mine ) using your magic wand tool ~ click inside the small circle on it and then highlight the slats layer and hit delete and again on the mask layer ~ drop shadow the anchor
open up main tube and paste as a new layer and position ~ drop shadow
open up the wheel and paste as a new layer and position ( see mine ) ~ duplicate and position ~ merge the 2 together ~ drop shadow

open bubbles and paste as a new layer ~ image mirror and position to the right side ~ drag down so it is below the tube
add the copyrights and your mark and crop around the tag ~ resize if you wish
hide all layers that above the red and white striped rectangle ~ merge visible
hide the merged layer ~ unhide the others ~ merge visible
you should now only have 2 layers

copy the bottom layer and paste into animation as a new layer
and duplicate until you have 8 frames of it ~ open the bubbles and position these over the rectangle
go to back to psp and copy the top layer ~ duplicate until you have 8 frames again and paste this onto the bubbles
view animation and save as a .gif
If you have any questions or comments regarding this tutorial  please leave me a comment below or write a message
in my Chat Box, alternatively you can email me at clare_33@live.co.uk

Monday, 13 August 2012

JACK DANIELS

SORRY NO PREVIEW


This tutorial was written by me on November 22nd 2009
You will need:
Scrap Kit 'Grunge It Up' By Addictive Pleasures here
tube of choice, I am using the work of Keith Garvey, you will need a licence
Template28 by Tamie here
My Supplies here

open the template and duplicate and close the original, delete the copyright layer
image > resize > 75% all layers, image > canvas size 700 x 700
click on the glitteredcircle layer > adjust > colorize: 154, 149
click on the circle > selections > select all > selections > float >selections > defloat
open paper20 and paste as a new layer > selections > invert and hit delete
delete the orignal circle layer

select the dottedhalfcircle > selections > select all > selections > float > selections > defloat
choose your paintbrush set to circle size72 and colour black and colour over the dots > select none
click on the glittered rectangle and adjust > colorize as before
click on the rectangle > selections > select all > selections > float > selections > defloat
open paper1 and paste as a new layer > selections > invert and hit delete, delete the original layer

click on strip 2 > selections > select all > selections > float > selections > defloat and flood fill black
repeat with strip3, strip and strip4, merge down all the strips together
add a drop shadow to the strips: 3, 3, 61, 13.00, black

click on the star layer and selections > select all > selections > float > selections > defloat and flood fill with a colour from your tube, add the same drop shadow
click on the word art layer and using your magic wand click inside all the pink sections
open paper7 and paste as a new layer > selections > invert and hit delete
add the same drop shadow

open your tube and copy and paste as a new layer to the left hand side, add the drop shadow
add a new layer and send to the bottom selections > select all
open paper7 and paste into selection > select none
open your mask and apply > merge group

open the silver glitter and paste as a new layer above the mask, duplicate and mirror
open the chain and paste as a new layer and position ( see mine ) add drop shadow
open ele32 and paste as a new layer above the mask layer, duplicate > image > flip

open ele25 and paste as a new over the circle, add a drop shadow

open ele13 and image > resize > 40% and paste as a new layer add a drop shadow and position ( see mine )
delete the white background layer and > layers > merge > visible
add your mark and the copyrights
image > resize > 80% all layers
add any text you like and save as a .png

I'M STUFFED

SORRY NO PREVIEW

This tutorial was written by me on 24th November 2010
 It assumes you have working knowledge of PSP and Animation Shop and it's tools, was written in Version 9, feel free to merge layers as when needed, unless otherwise stated
You will need:
Template 'Im stuffed' which you can download here
Tube of choice, I am using the work of Elias Chatzoudis, you need a licence to use his work
My supplies here

On to the tutorial...
Open the template and duplicate and close the original > delete the copyright layer
activate circle background layer > float > defloat > open paper1 and paste as a new layer > invert and hit delete > select none and delete the original layer
activate group-copy of circle > effects > artistic > sepia toning, settings: 75 > ok
adjust > brightness/contrast > -40 brighness / contrast 0 > ok
duplicate > merge down > twice
activate inner backrectangle > selections > float > defloat > open paper2 and paste as a new layer > invert and hit delete > select none > delete original layer
activate backrectangle > float > defloat > open paper3 and paste as a new layer > invert and delete > delete the original layer
repeat the above steps with the dotted line fill using the same paper
activate the doodles layer and apply the same sepia tonig and same brightness adjustment
delete both the word arts on the tag ( black and white )
activate the large circle again > float > defloat > open tube and paste as a new layer > invert and delete > select none
apply the same sepia toning to the tube then lower the opacity to around 65
add a drop shadow of choice to the wordart in the large circle
activate the tag layer > float > defloat > open paper4 and paste as a new layer > invert and hit delete > delete the original layer > merge down the tag and the shadow
merge visible all the parts of the tag including eyelet > drop shadow
activate outer happy thanksgiving and apply the sepia toning twice then apply the same brightness/contrast as before
open main tube and paste as a new layer > position > drop shadow
If you have any questions or comments regarding this tutorialplease leave me a comment below or write a message
in my Chat Box, alternatively you can email me at clare_33@live.co.uk
HAPPY NEW YEAR

SORRY NO PREVIEW
This tutorial was written by me on 14th December 2009
you will need:

template34 by me here
Scrap Kit 'New Year' by Tamie at Addictive Pleasures here
tube of choice, I used the work of Sheila Craig, FTU here
My supplies here

open the template and duplicate and close the original, delete the copyright layer
click on the black circle > selections > select all > selections > float > selections > defloat
open p13 and copy and paste as a new layer > selections > invert and hit delete on the keyboard, delete the original layer

click on whitestarframe > selections > select all > selections > float > selections > defloat, open p2 and copy and paste as a new layer > selections > invert and hit delete and delete the original layer
effects > 3d effects > inner bevel, settings: Bevel#2, 10, 52, 24, 35, 60, 315, 30, 40, delete the original layer and repeat with the other star frame
change the blend mode on the 2010 to soft light
click on the bevel frame layer and using your magic wand click inside it > selections > modify > expand 1
open your tube and copy and paste as a new layer > image > resize > 85% - twice > selections > invert and hit delete on your keyboard, add a drop shadow, settings: 1, 1, 58, 13.0, black and drag down to below the bevel frame layer
add again your tube and resize as before, move this above the bevel frame layer and using your selection tool set to freehand - point to point, remove any excess from the bottom

click on the new year split layer > selections > select all > selections > defloat and copy and paste p12 as a new layer > selections > invert and hit delete on your keyboard, delete the original layer
add the same drop shadow
click on the black new year layer and add the same inner bevel as before and add the drop shadow
click on the top white star layer > selections > select all > selections > float > selections > defloat, open paper15 and copy and paste as a new layer > selections > invert and delete the original
repeat with the other star and using the same paper
open ele51 and copy and paste as a new layer and send to the bottom > duplicate > image > mirror > image flip
merge down these 2 layers and add the same drop shadow
open ele41 and repeat the above steps
merge these 2 layers together and > image > mirror
click on spilt new year letters > adjust > add/remove noise, settings: gaussian, 35, monochrome
open ele1 and paste as a new layer and drag down to below the tube layer and add the drop shadow

open ele45 and paste as a new layer > image > mirror > drop shadow and place ( see mine )
open ele43 and paste as a new layer and place ( see mine ) > drop shadow
open my word art and paste as a new along the bottom 9 see mine ) add drop shadow
image > resize > all layers > 80%

add the copyrights and your mark and any text you would like, save as a .png
Related Posts Plugin for WordPress, Blogger...